Using AI to create a UX Component
Description
Create a UX component using AI with data binding. Choose a datasource, provide a prompt informed by schema, then save and preview the generated component.
Start The UX Generator
From the Web Project Control Panel AI menu, choose the option to create a UX component.
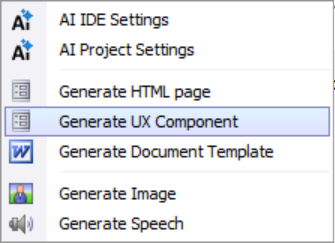
Pick Generation Mode
Select from the available options; for this example, generate against an existing datasource.
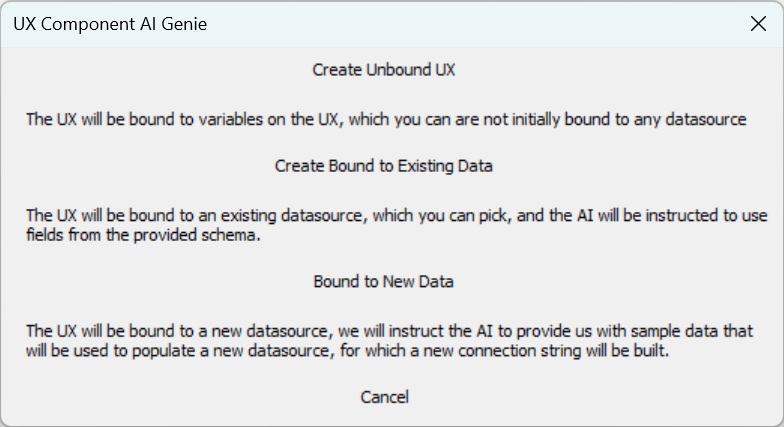
Bind To A Datasource
Choose Datasource
The binding dialog opens so you can select a datasource.
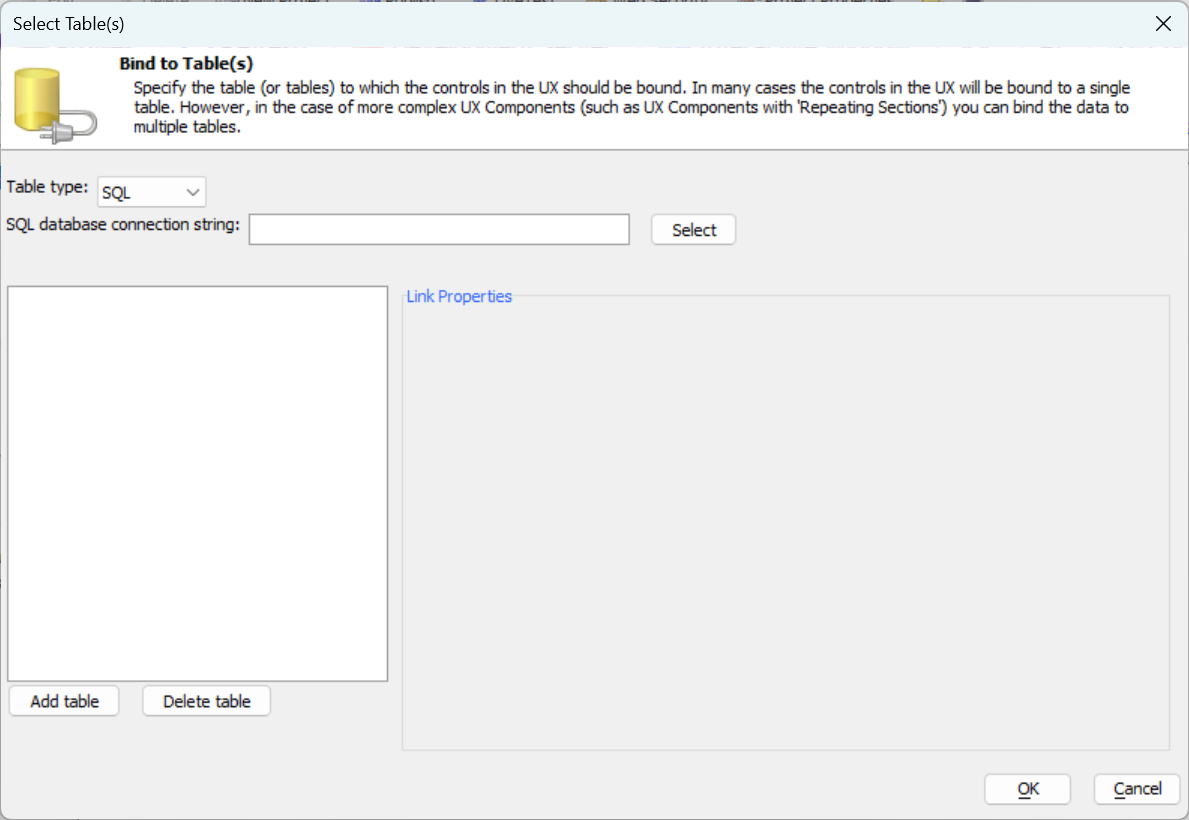 Binding Dialog
Select Tables
Pick the table(s) you want to bind.
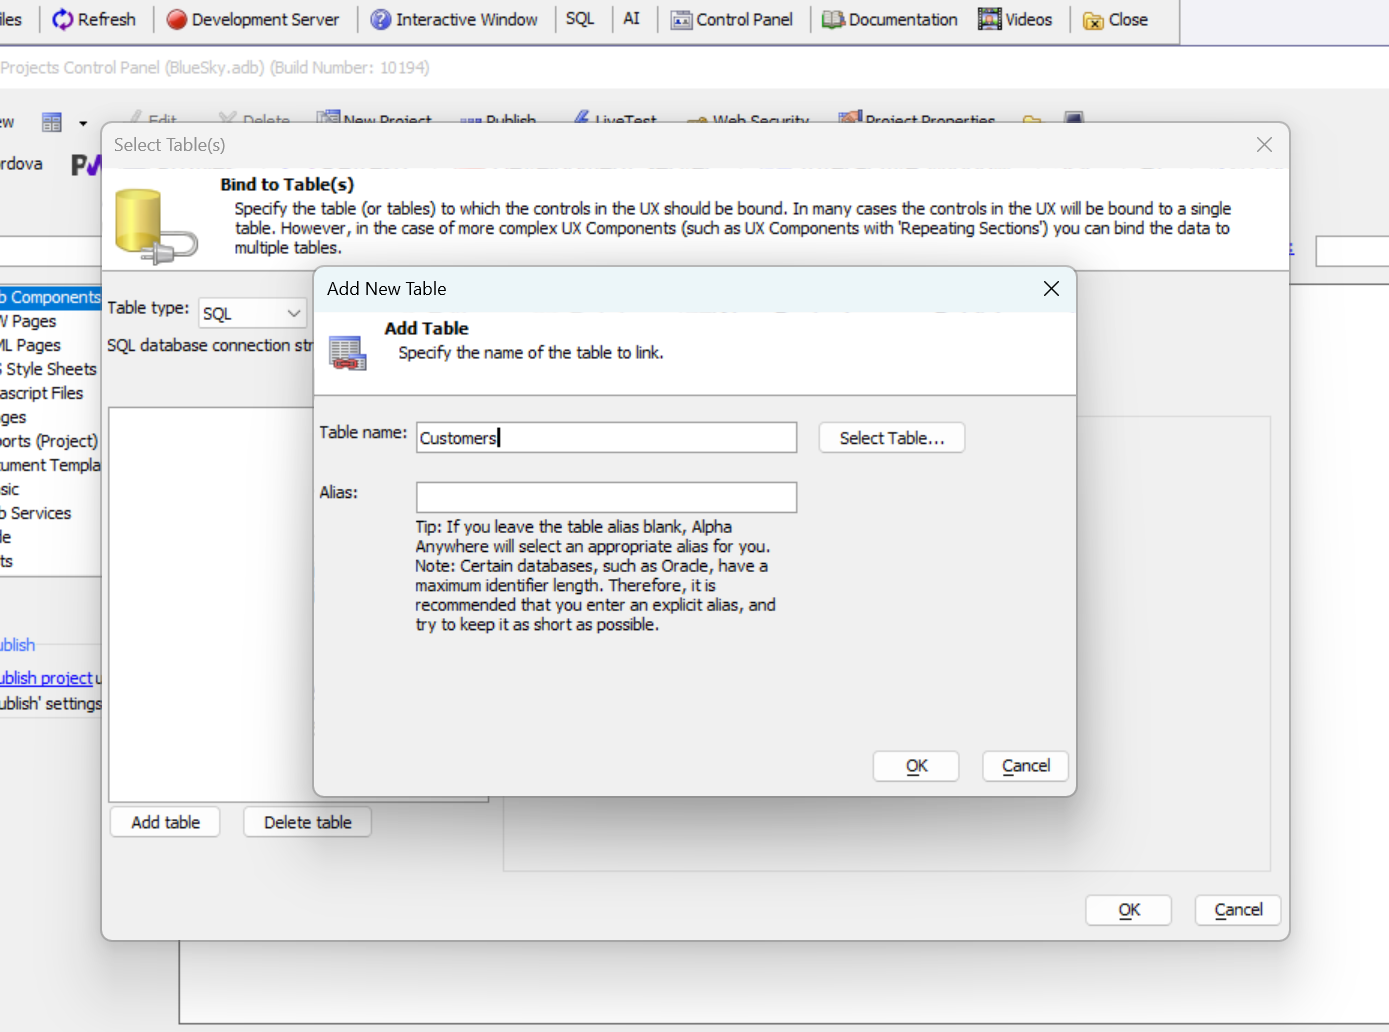 Select Tables
Proceed
With the table binding established, continue to the next step.
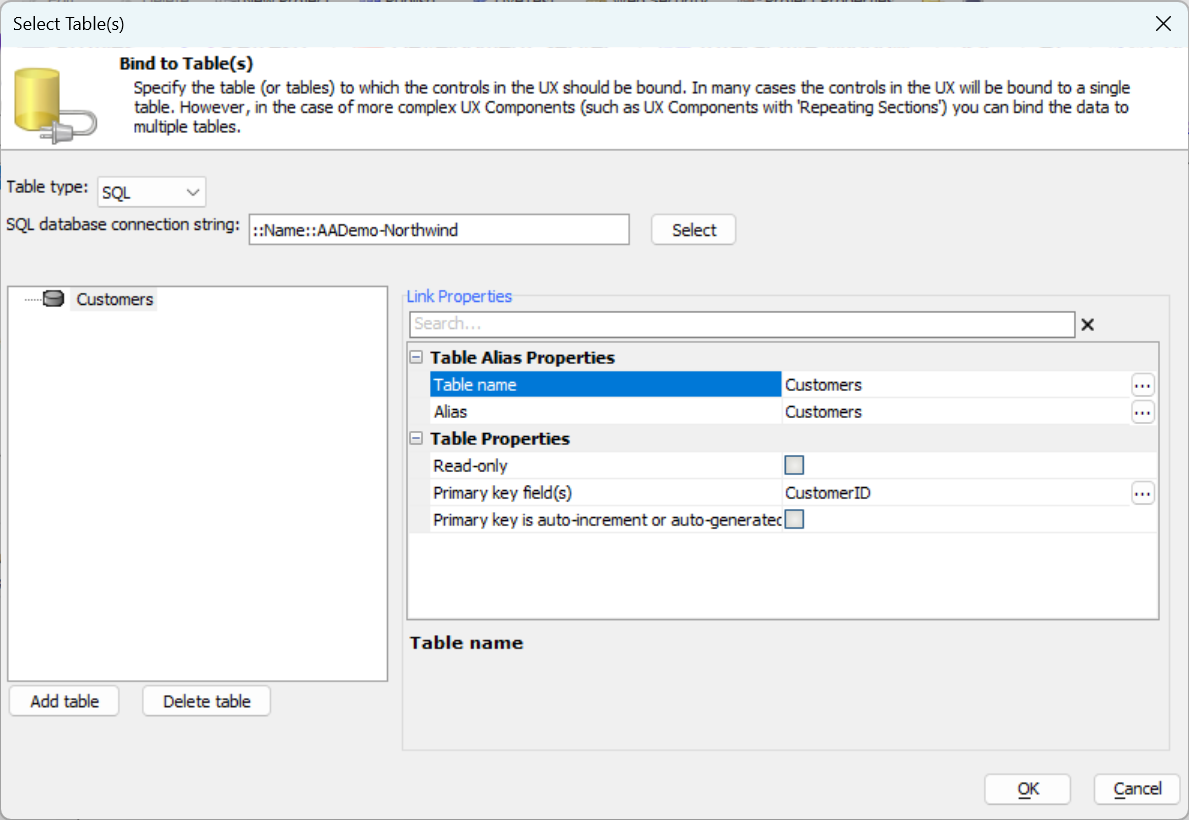 Binding Confirmed
Provide The Prompt
The prompt works like a web page prompt but includes schema context and instructions on which fields to include.
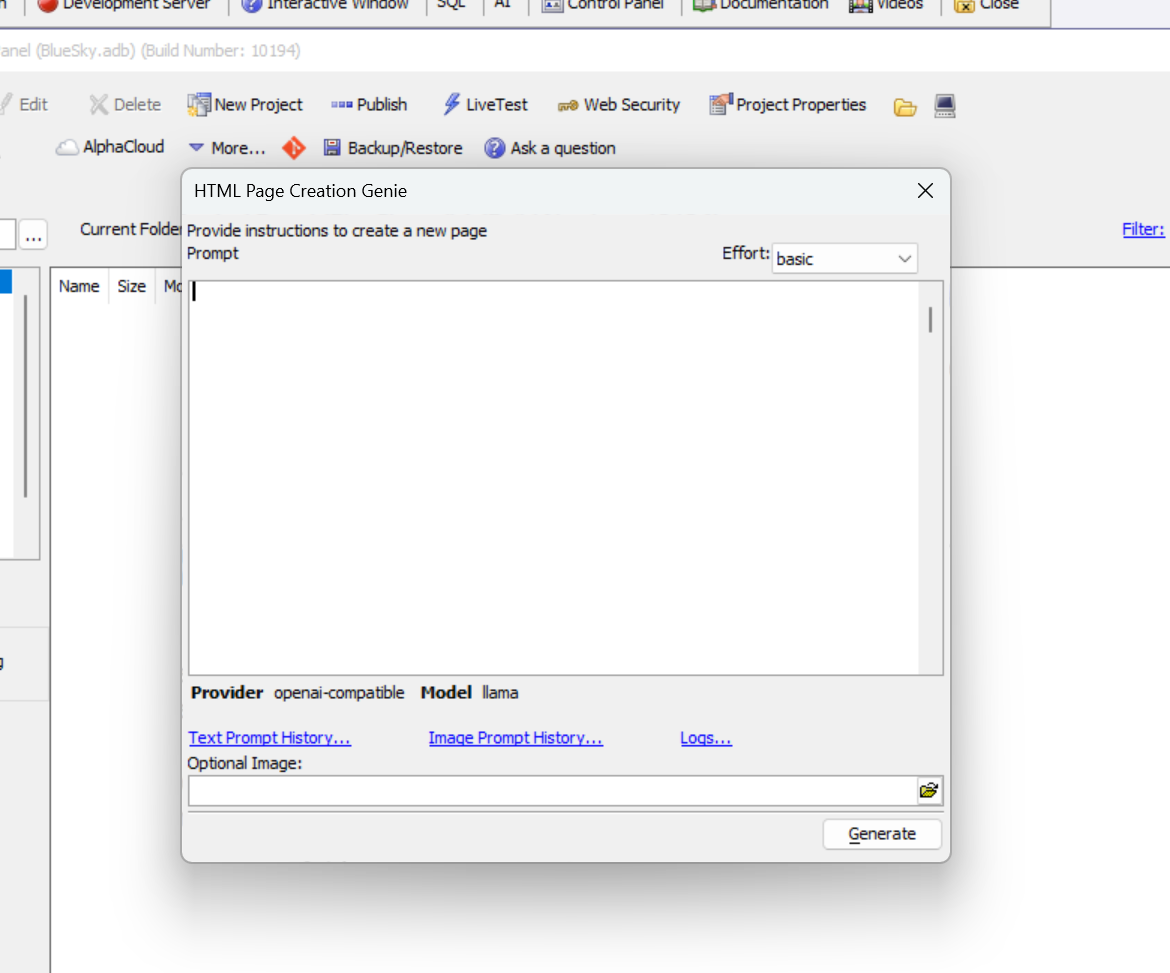
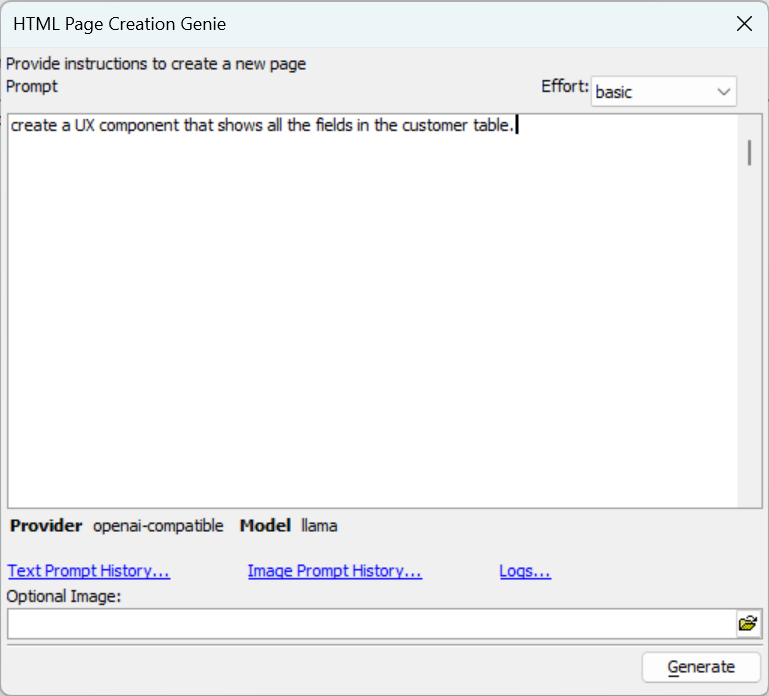
Review The Result
The generated UX contains a template with placeholders wired to fields.
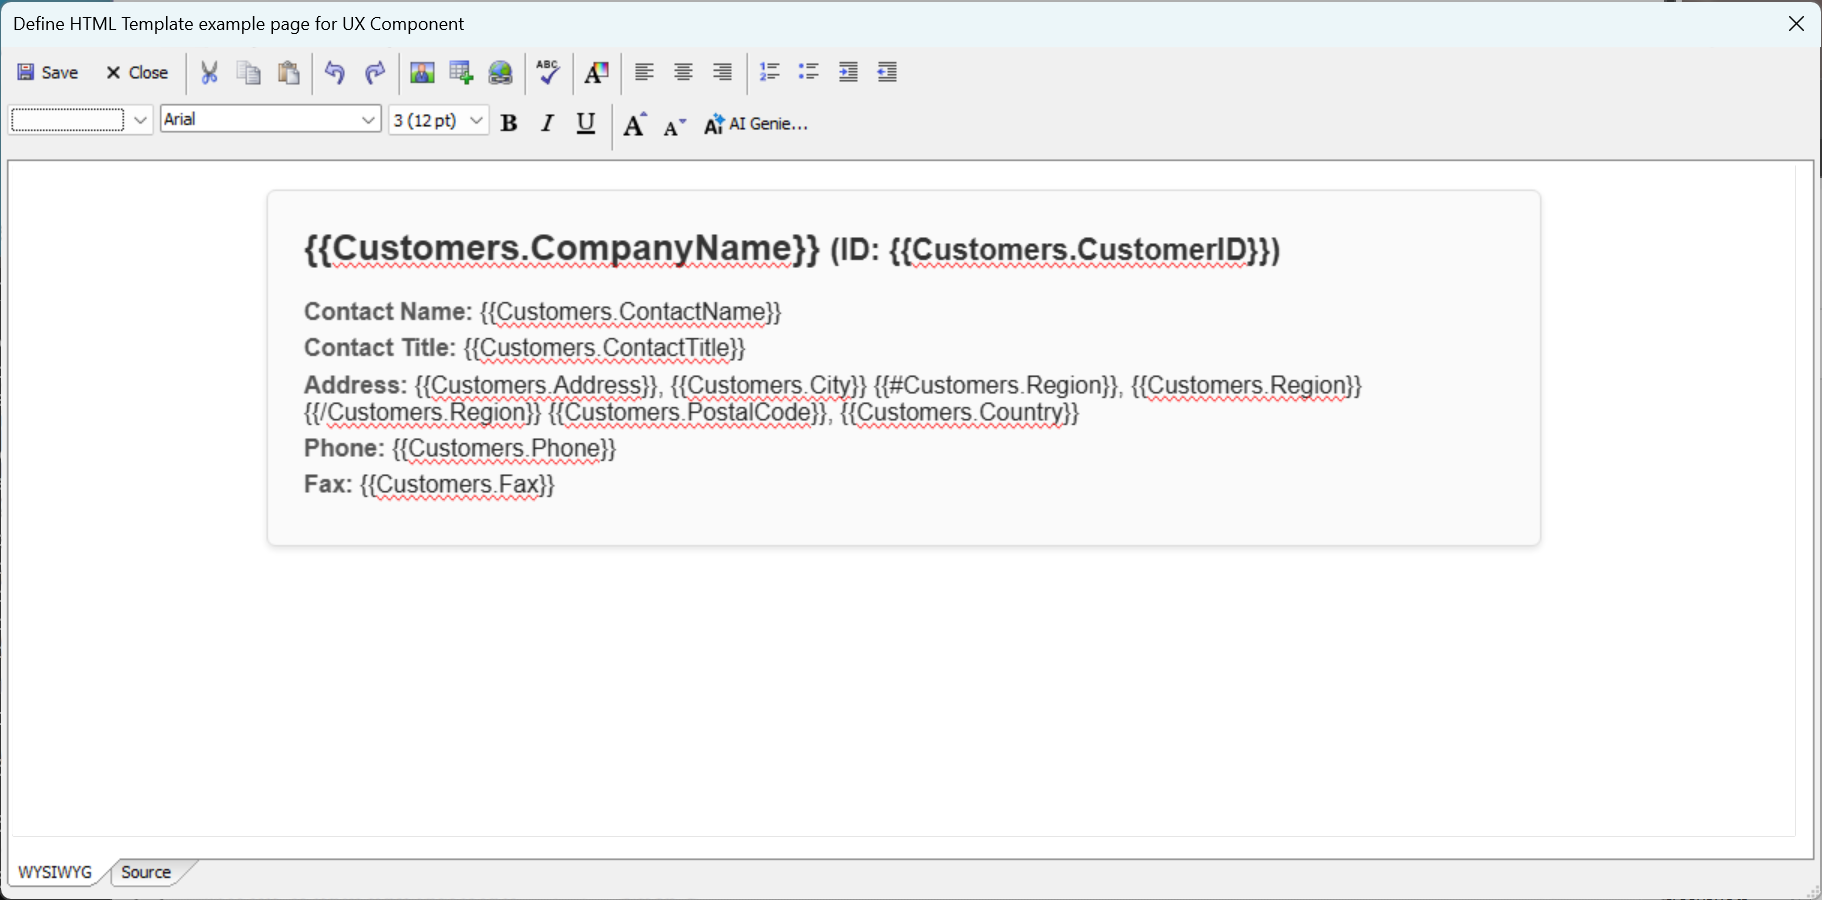
Save To Project
Save the generated UX component to your project.
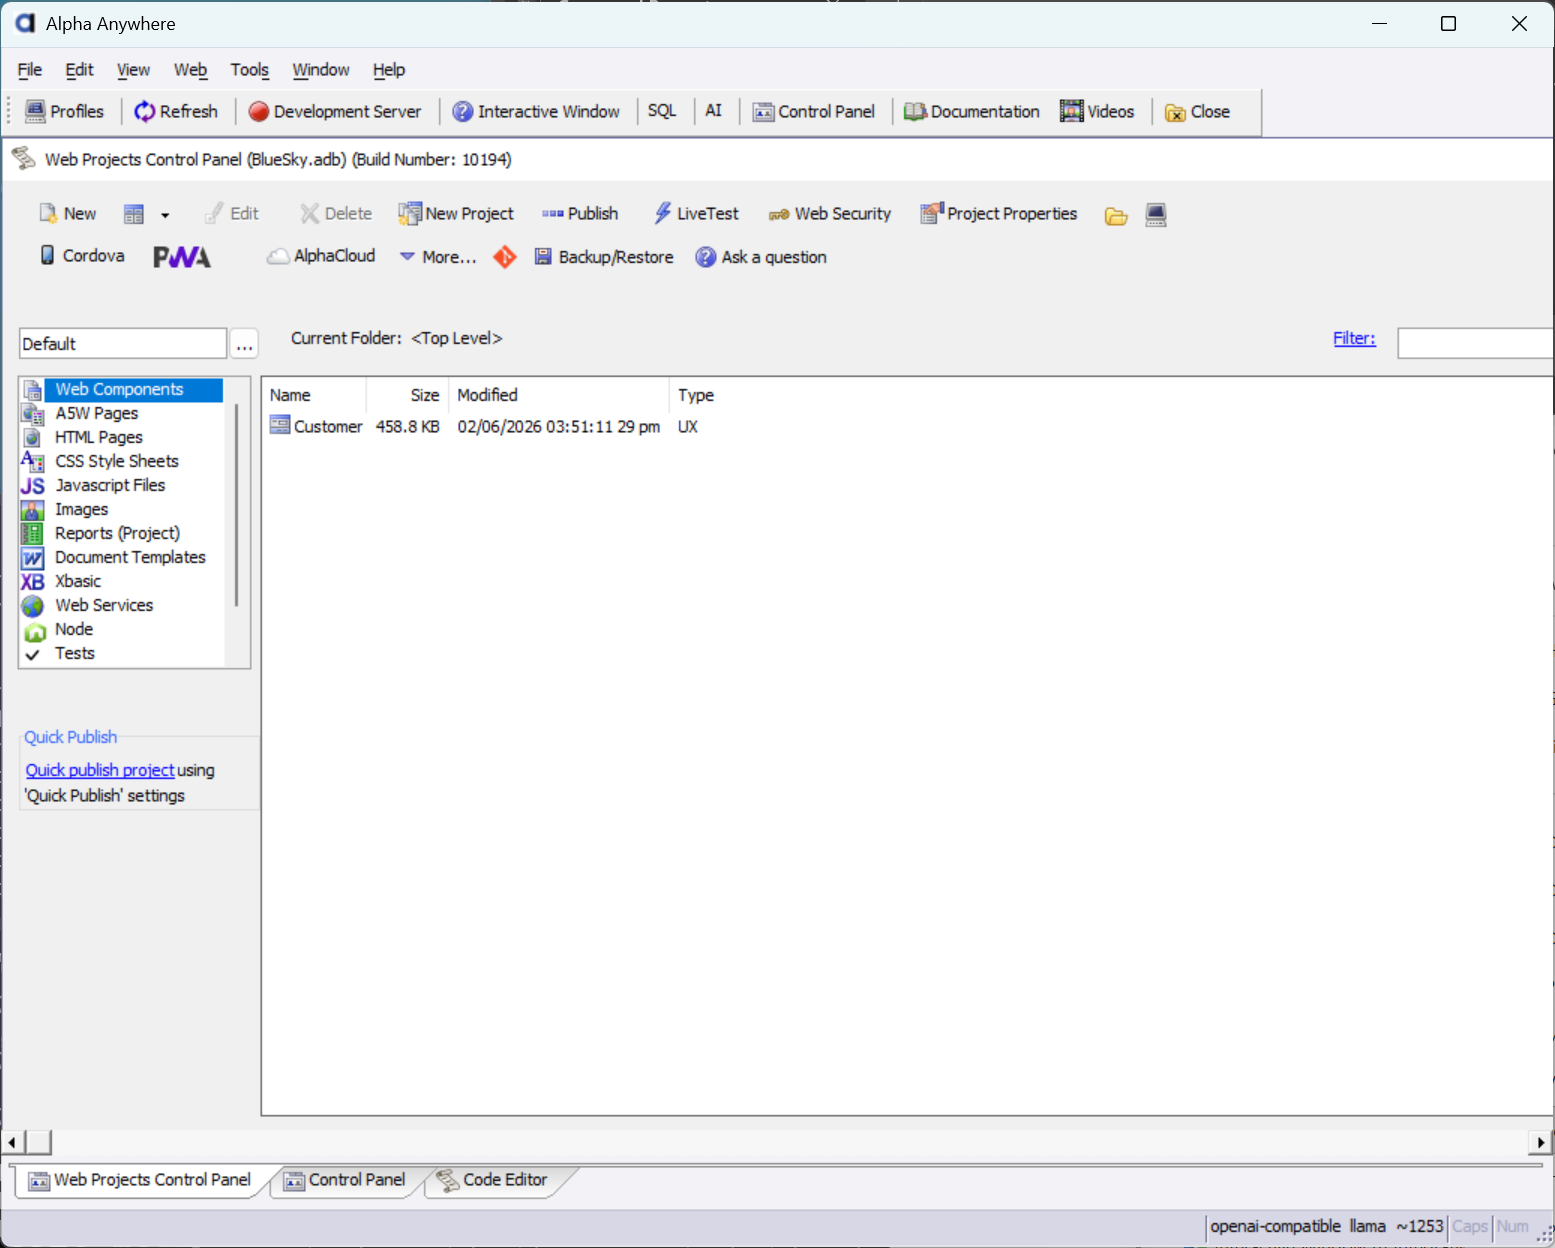 Saved Component
Load And Inspect
Open the component to confirm fields were created and view the Freeform control.
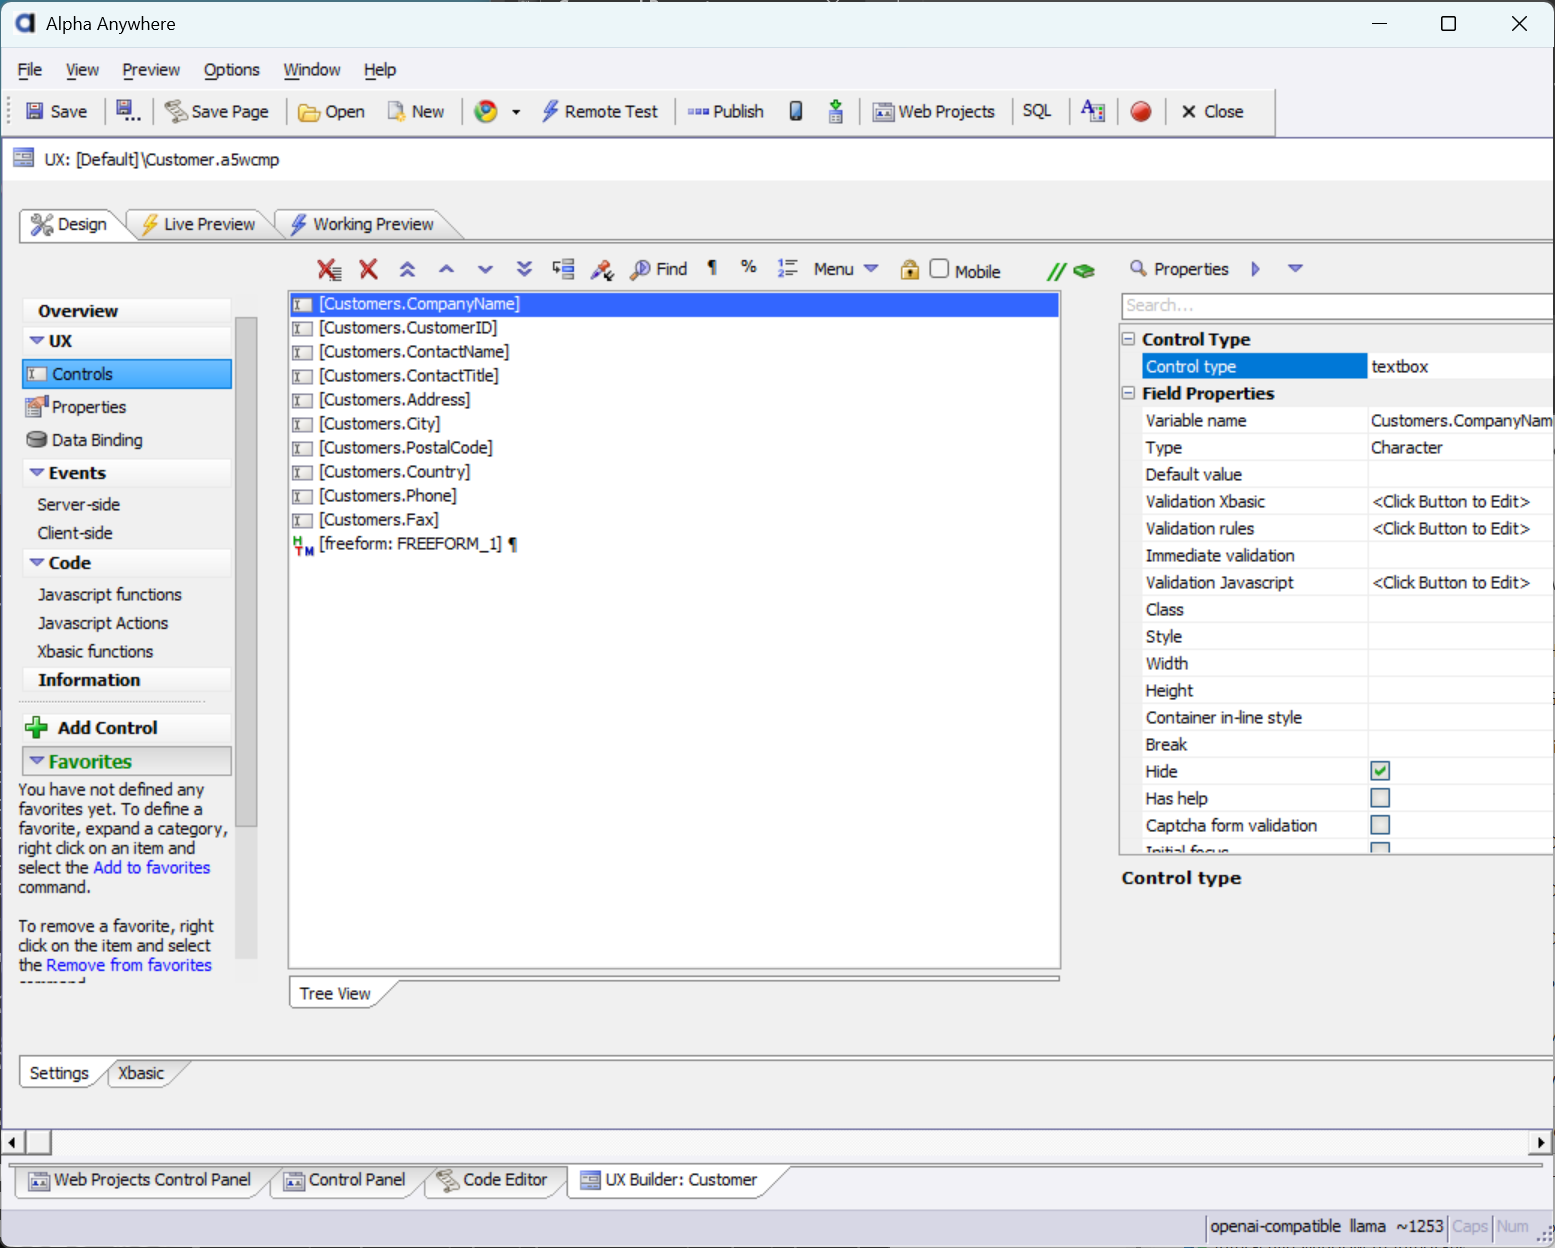 Component Loaded
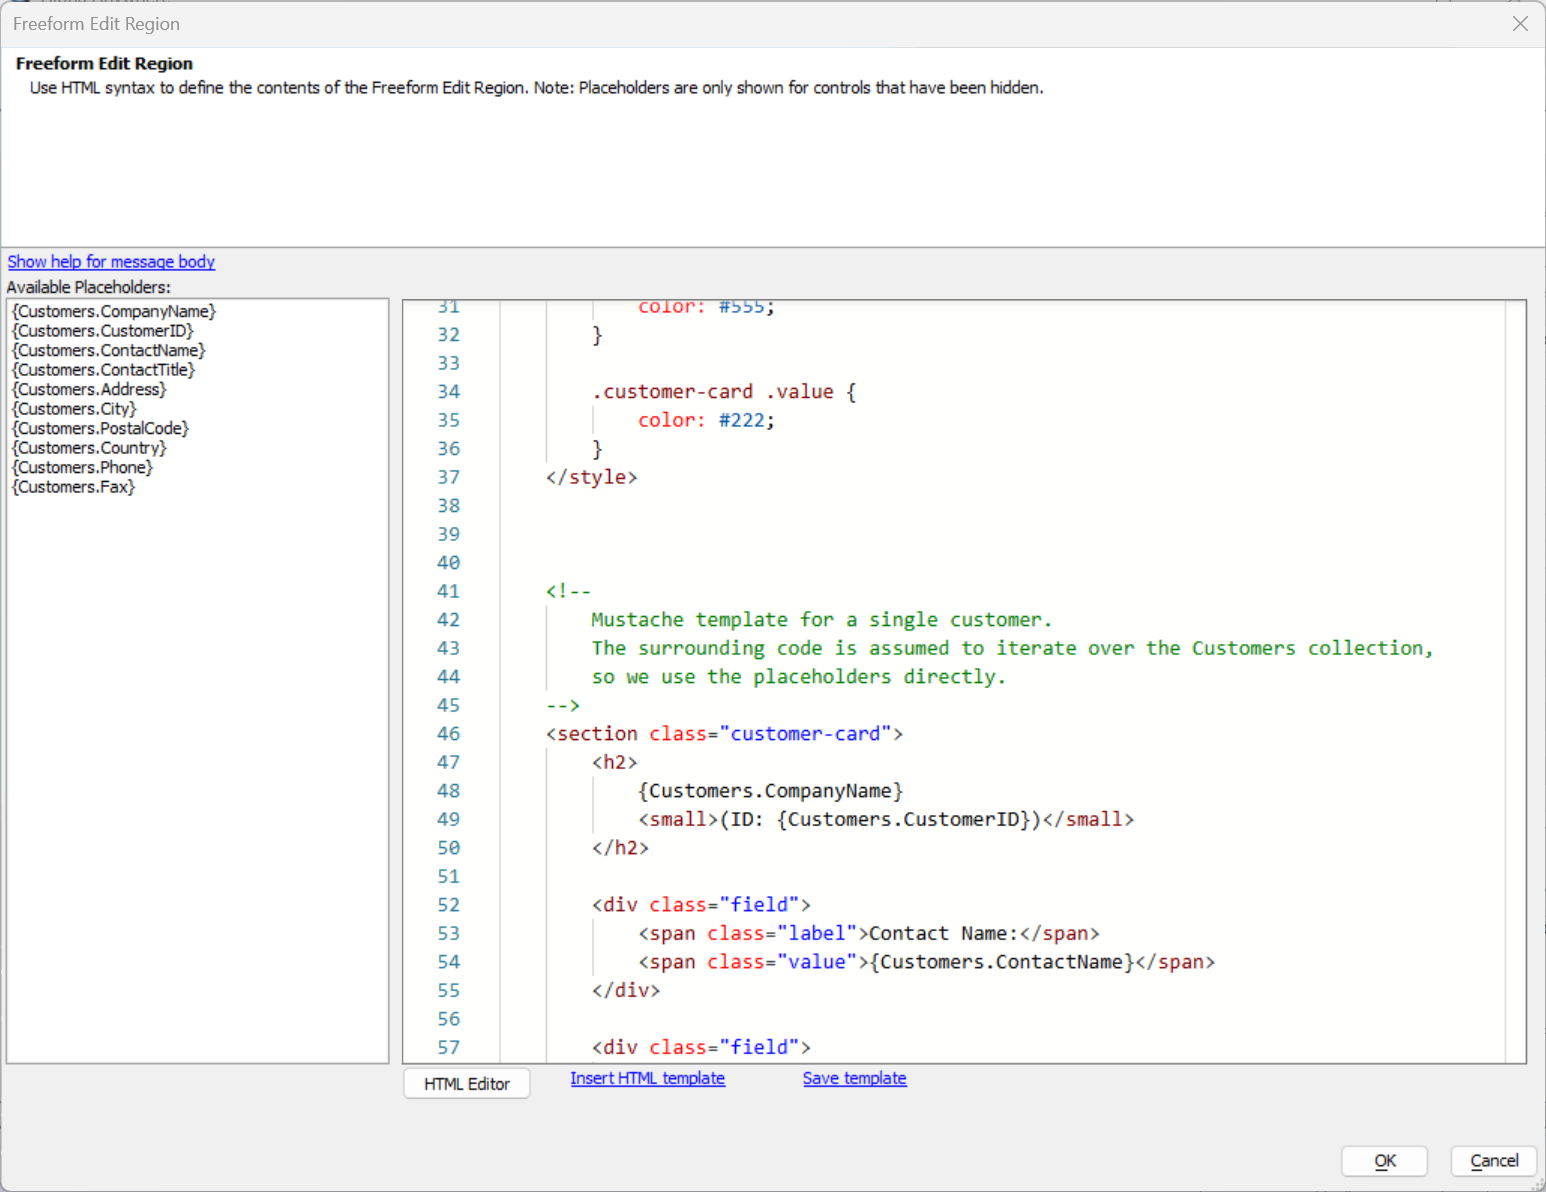 Freeform Control
Preview
Preview the UX to confirm bindings and layout.
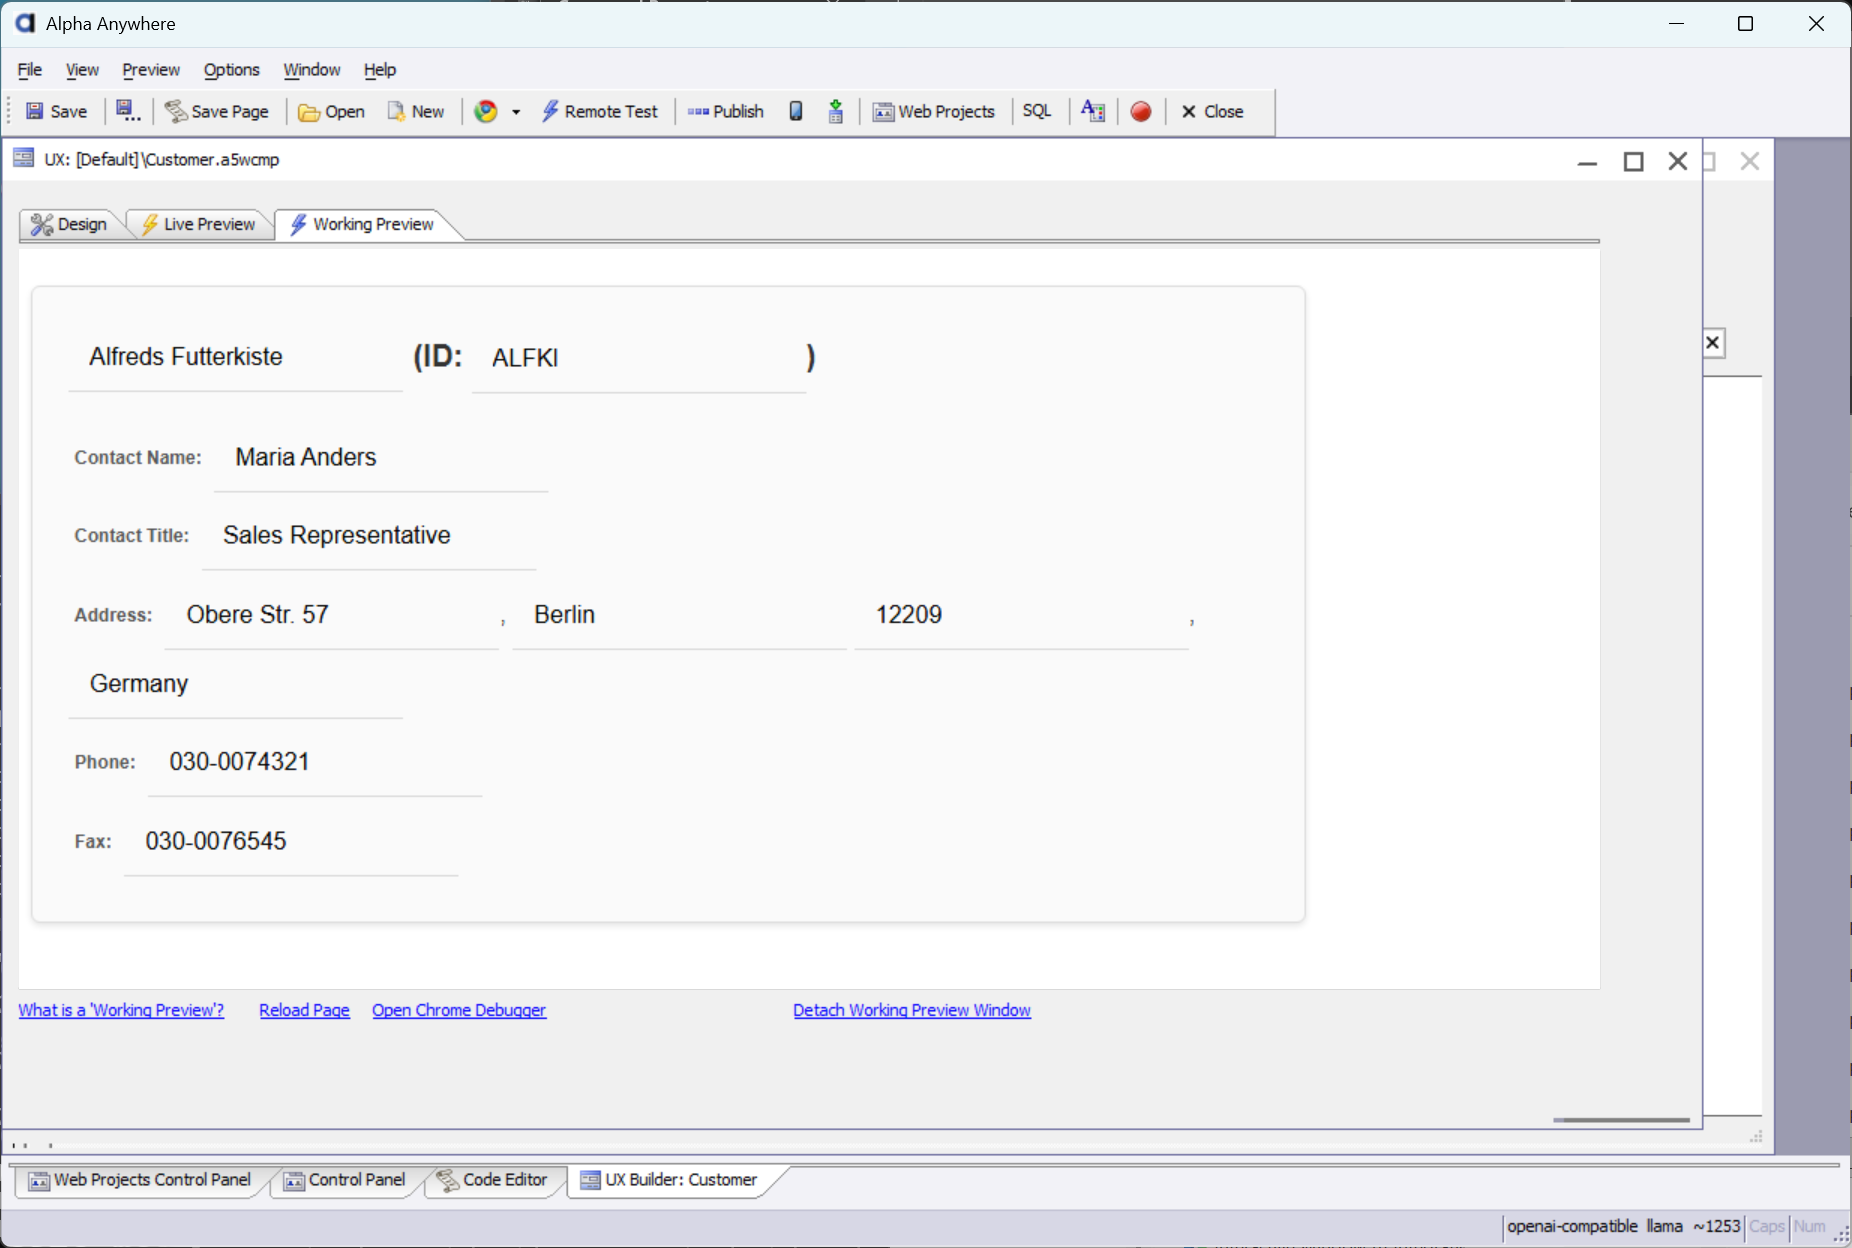 UX Preview